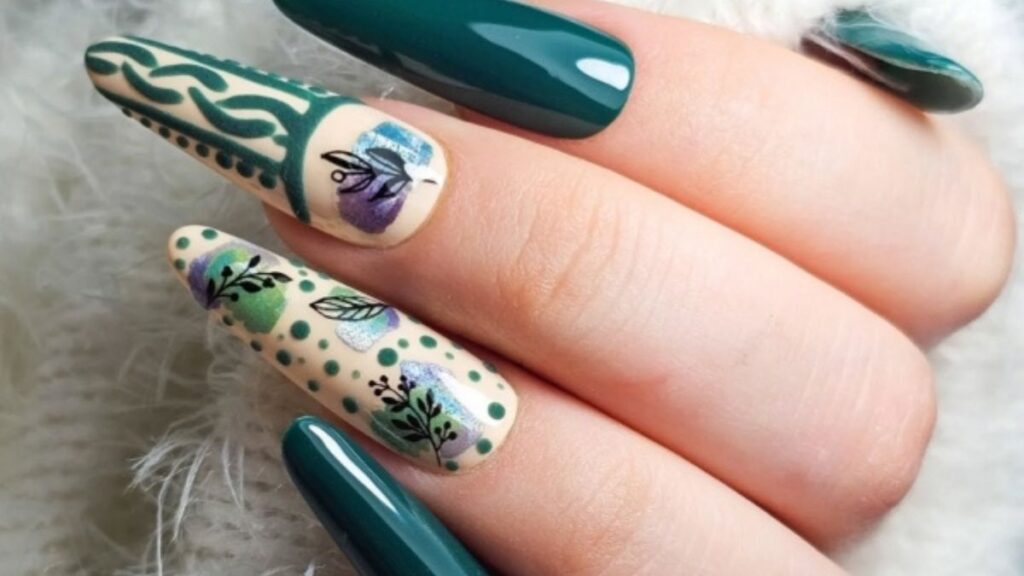
If you’ve been scrolling through beauty feeds lately, chances are you’ve already spotted those luminous, candy-like nails glowing from every other post. That’s jelly nail polish — and it’s having a major moment right now. This sheer, translucent finish gives your nails a fresh, glass-like look that feels effortless yet elevated. Whether you’re a nail art enthusiast or a minimalist who likes clean, polished style, jelly nails might just be your next obsession.
What Is Jelly Nail Polish?
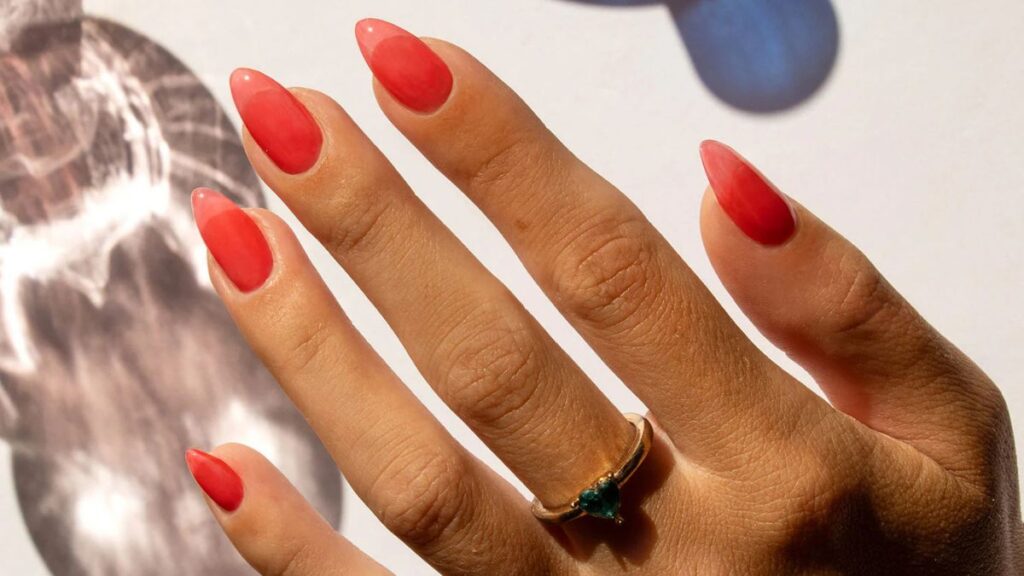
Jelly nail polish is a sheer, semi-transparent formula that creates a glossy, gel-like finish on the nails. Unlike traditional opaque polishes, jelly polish allows light to pass through, giving the nails a soft, dimensional appearance that almost looks lit from within.
The finish resembles the texture of a jelly candy — hence the name. It’s not a matte, not a full gloss, and definitely not opaque. It sits in a beautiful middle ground that feels modern and wearable.
How It Differs from Regular Nail Polish
| Feature | Jelly Nail Polish | Regular Nail Polish |
| Opacity | Sheer / Semi-transparent | Fully opaque |
| Finish | Glossy, dimensional, gel-like | Flat to glossy |
| Layers needed | 2–4 for depth | 1–2 for coverage |
| Best for | Minimalist, glass-skin looks | Bold, solid color looks |
| Nail visibility | Yes — natural nail shows through | No — covers the nail |
| Trend appeal | Currently very trendy | Classic and timeless |
This distinction matters because how you apply jelly polish is quite different from a standard lacquer. Layering is key — the more coats you add, the more depth and richness the color develops without losing that translucent quality.
Why Everyone Is Loving the Jelly Nail Trend
Honestly, it’s not hard to see why this trend exploded. Jelly nails sit at the perfect intersection of effortless and polished. They look expensive without requiring expert skill, and they work on every nail length and shape.
Here are some reasons the trend has taken over:
- They complement any skin tone. Sheer formulas are universally flattering.
- They feel low-maintenance. Minor chips are less visible than on opaque polish.
- They’re incredibly versatile. Wear them alone or layer over glitter and nail art.
- They have that “your nails but better” effect that feels very current in beauty right now.
- They pair perfectly with the “clean girl” aesthetic and glass-skin beauty trends.
The sheer, juicy finish also photographs beautifully — which doesn’t hurt its social media popularity one bit.
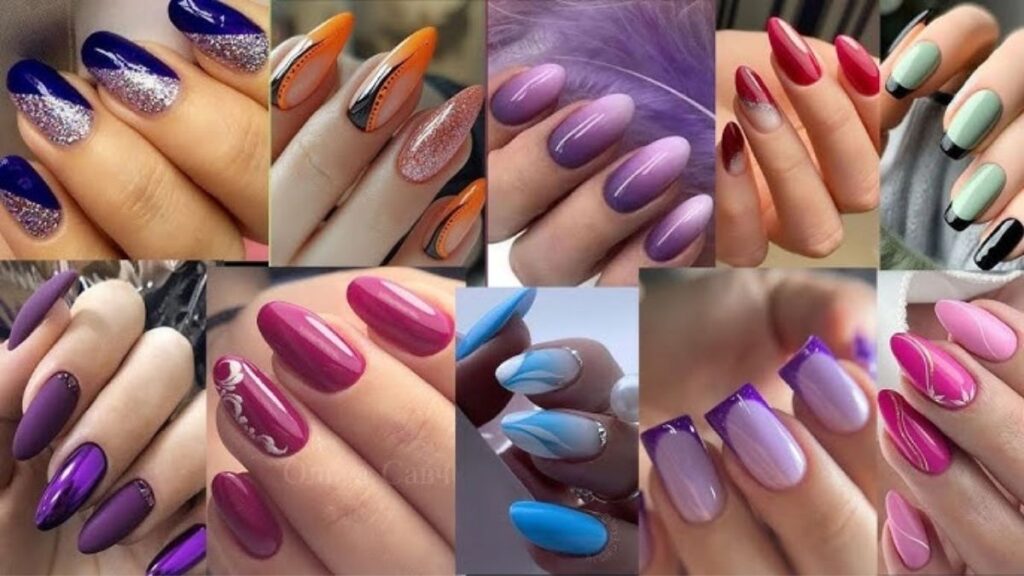
The Best Jelly Nail Polish Shades to Try
Choosing the right shade is where the fun really starts. Because the formula is sheer, you’ll find that even bold colors look wearable and soft in jelly form.
Top Shades by Occasion
| Shade | Best For | Vibe |
| Sheer Nude / Milky White | Everyday, office | Clean, minimal, sophisticated |
| Soft Rose / Blush Pink | Date night, spring | Romantic, feminine, fresh |
| Coral Orange | Summer, beach | Fun, vibrant, sun-kissed |
| Berry / Wine | Fall, evenings | Rich, moody, luxe |
| Clear with Shimmer | Any occasion | Ethereal, editorial, versatile |
| Mint / Pastel Green | Spring/Summer | Playful, trendy, cute |
If you’re just getting started, a soft pink or milky nude is a foolproof entry point. These shades look flattering on nearly everyone and are easy to build up in layers.
How to Apply Jelly Nail Polish Like a Pro
Application technique makes a huge difference with sheer formulas. Because the color is translucent, any unevenness or streaks are easier to spot. But with the right approach, you’ll get a flawless, glass-like result every time.
Step-by-Step Application Guide
Step 1: Prep your nails properly. Start with clean, dry nails. Push back cuticles and file your nails into your preferred shape. This step matters more than people think — jelly polish highlights every ridge and rough edge.
Step 2: Apply a clear base coat. A base coat protects your natural nail and gives the polish something to grip. Let it dry completely.
Step 3: Apply thin, even coats. Use thin layers and let each coat dry before the next. Don’t rush this. With jelly polish, thin coats are your best friend.
Step 4: Build up 2–4 layers for depth. The magic of jelly polish happens in the layering. Two coats give a sheer wash of color. Three to four coats create richer, more saturated depth while still keeping that translucent quality.
Step 5: Seal with a high-gloss top coat. A glossy top coat amplifies the jelly effect dramatically. It adds shine, depth, and helps the manicure last longer.
Pros and Cons of Jelly Nail Polish
Like any beauty trend, jelly polish comes with its own set of strengths and trade-offs. Here’s an honest breakdown:
Pros
- Creates a flattering, luminous finish on any nail length
- Works as a standalone look or as a base for nail art
- More forgiving of minor chips compared to opaque formulas
- Easy to find in drugstores and professional brands
- Suits a wide range of aesthetics — minimal to maximalist
- Great for warmer months when you want color without heaviness
Cons
- Requires more coats to build up color, which extends drying time
- Can look streaky if applied too thickly
- Very sheer shades may not provide enough color payoff on deeper skin tones without extra layers
- May not last as long as gel formulas without a good top coat
- Natural nail imperfections (staining, ridges) remain visible
Common Mistakes to Avoid
Even experienced nail enthusiasts make a few missteps when working with jelly formulas. Here’s what to watch out for:
1. Applying coats that are too thick. Thick coats look goopy, take forever to dry, and defeat the purpose of the sheer effect. Always go thin.
2. Skipping the base coat. Skipping this step leads to staining (especially with warmer shades) and poor adhesion. It’s non-negotiable.
3. Not waiting between coats. Patience is everything. Applying a second coat too soon causes bubbling and peeling. Let each layer cure fully.
4. Choosing the wrong top coat. A matte top coat will kill the jelly effect entirely. Always use high-gloss.
5. Ignoring nail prep. Jelly polish is less forgiving than opaque formulas when it comes to surface imperfections. Take the time to prep properly.
Best Practices for Long-Lasting Jelly Nails
| Best Practice | Why It Matters |
| Always use a base coat | Prevents staining and improves adhesion |
| Apply thin, even layers | Avoids bubbling and maintains translucency |
| Let each coat dry fully | Prevents peeling and smudging |
| Use a high-gloss top coat | Maximizes shine and extends wear |
| Apply a fresh top coat every 2–3 days | Refreshes shine and adds protection |
| Avoid soaking hands in water after application | Water weakens the bond before the polish fully sets |
If you follow these steps consistently, a jelly manicure can realistically last 7–10 days without significant chipping — sometimes even longer with gel-hybrid formulas.
Jelly Nail Polish vs. Gel Polish: What’s the Difference?
A lot of people wonder if jelly nail polish is the same thing as gel. It’s not — though some brands do make jelly-finish gel polishes. Here’s the quick difference:
- Regular jelly nail polish is air-dried, just like any standard lacquer. No lamp needed.
- Jelly gel polish requires curing under a UV or LED lamp and lasts significantly longer (2–3 weeks).
- Gel jelly finishes are more durable but require acetone removal.
If longevity is your priority, a gel version is worth considering. But if you like switching up your nail color frequently, a standard jelly lacquer gives you flexibility without the commitment.
Conclusion
Jelly nail polish is more than just a passing trend — it taps into something genuinely appealing about modern beauty: simplicity that still feels special. The sheer, luminous finish is flattering, fun to wear, and surprisingly versatile. Whether you stack it with glitter, keep it bare and minimal, or layer two shades together for a custom tint, jelly nails invite you to play without the pressure of perfection.
If you haven’t tried them yet, grab a soft pink or milky nude and start there. A few coats, a glossy top coat, and you’ll understand exactly why everyone’s talking about this look.
Frequently Asked Questions
Jelly nail polish is a sheer, semi-transparent lacquer that creates a glossy, gel-like finish. It works by layering thin coats that allow light to pass through the color, giving nails a dimensional, glass-like appearance.
Most people apply 2–4 thin coats to build up the desired color depth. Two coats give a sheer wash, while three to four coats create richer translucent color without losing the see-through quality.
With proper prep, thin layers, and a high-gloss top coat refreshed every 2–3 days, jelly nail polish can last 7–10 days. Gel-formula versions last 2–3 weeks with UV curing.
Yes — jelly polish works beautifully layered over glitter, foils, or nail stickers. The sheer formula softens the look and adds a dimensional, glass-effect finish over decorative elements.
No. Standard jelly nail polish is air-dried like regular lacquer. Gel-formula jelly polishes exist but require a UV or LED lamp to cure and last longer. The “jelly” refers to the sheer, glossy finish — not the formula type.
/ You May Also Read /
The Ultimate Guide to Choosing a Professional Nail Kit (What Every Nail Enthusiast Needs to Know)
Pearl Nails: The Ultimate Guide to Achieving That Dreamy, Luminous Look