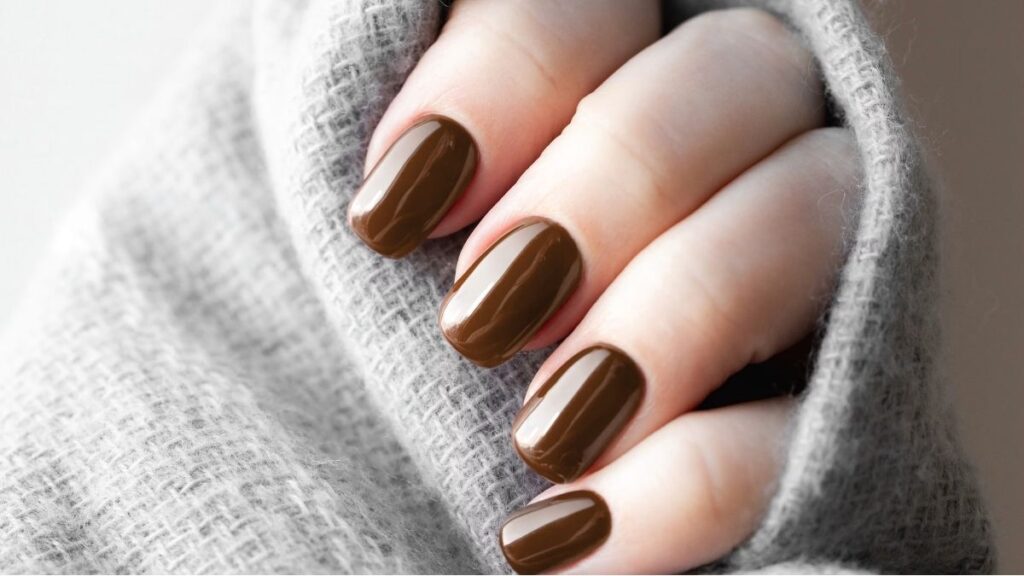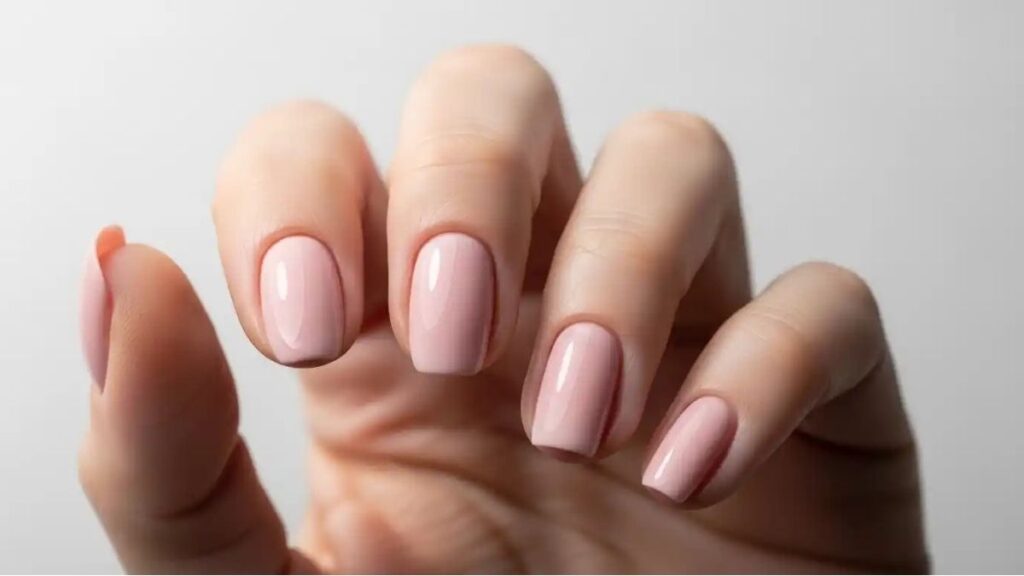
If you’ve ever assumed nail art is only for those with long, dramatic claws, it’s time to think again. Nail art for short nails has quietly become one of the most exciting beauty trends — and for good reason. Short nails are clean, practical, and the perfect canvas for creative, detailed designs that look polished and intentional. Whether your nails are naturally petite or you prefer a trimmed look, there’s an entire world of beautiful designs waiting for you.
This guide walks you through everything — from the most flattering styles to the tools you need and the mistakes most beginners make. Let’s get into it.
Why Short Nails Are Actually Perfect for Nail Art
Here’s something most people don’t realize: short nails can make nail art look more refined. The smaller surface area encourages restraint, which often means cleaner lines, bolder contrasts, and a more polished overall effect.
Long nails can sometimes get busy with complex art. Short nails naturally lend themselves to minimalist designs — and minimalism is very much in style right now.
There are also practical benefits. Short nail designs are less likely to chip or smudge during everyday activities. They’re easier to maintain. And honestly? They’re faster to paint.
Best Nail Art Styles for Short Nails
Not every design translates well to a smaller canvas, so it helps to know which styles actually shine. Here are the top options to consider.
Minimalist Geometric Designs
Simple shapes — triangles, thin lines, color blocks — look incredibly modern on short nails. The key is precision. A single diagonal stripe or a small triangle near the cuticle can completely transform a basic manicure.
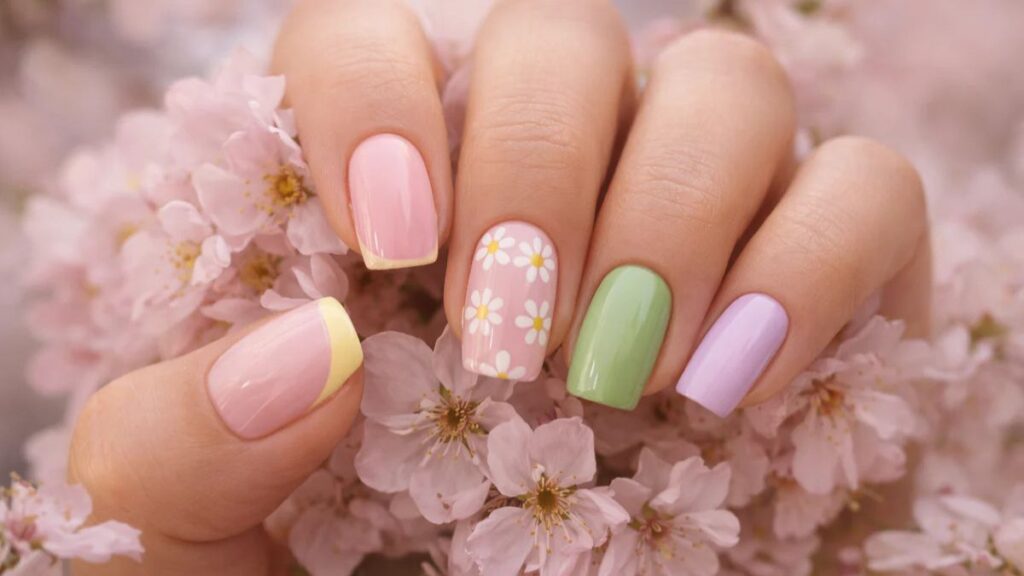
Micro Florals and Botanical Art
Tiny painted flowers, leaves, or botanicals have become a huge trend in short nail art. A few small blooms on one or two accent nails is all you need. It’s effortless, feminine, and surprisingly easy to achieve with the right brush.
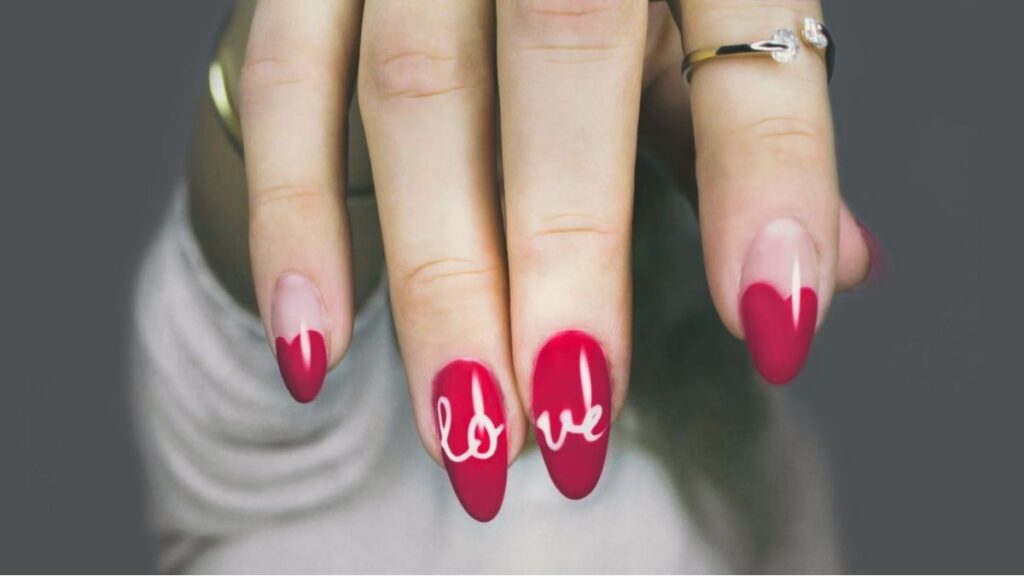
Negative Space Manicures
Negative space designs use your bare nail as part of the art. Think half-moon shapes, cutout frames, or geometric gaps that reveal the natural nail underneath. This style is especially flattering on short nails because it creates the illusion of length.
French Tips (Reimagined)
The classic French tip gets a modern makeover when adapted for short nails. Try colored tips instead of white, add a thin colored outline, or do a reverse French for something unexpected. These work beautifully on shorter nail beds.
Ombre and Gradient Nails
A soft gradient — blending two shades into each other — adds dimension without requiring a lot of detail work. On short nails, even a two-color sponge blend looks sophisticated and intentional.
Quick Comparison: Nail Art Styles for Short Nails
| Style | Difficulty Level | Best For | Time Required |
|---|---|---|---|
| Geometric / Line Art | Beginner–Intermediate | Clean, modern looks | 15–25 min |
| Micro Florals | Intermediate | Feminine, detailed art | 30–45 min |
| Negative Space | Beginner | Minimalist & trendy | 10–20 min |
| Reimagined French Tip | Beginner | Everyday elegance | 10–15 min |
| Ombre / Gradient | Beginner | Soft, dimensional look | 20–30 min |
Tools & Products You’ll Need
Getting the right tools makes a huge difference, especially on shorter nails where precision matters more.
Here’s what to keep in your kit:
- Fine detail brush — This is your most important tool. A size 000 or liner brush lets you paint tiny designs with control.
- Dotting tool — Perfect for dots, florals, and polka dot patterns without freehand painting.
- Nail striping tape — Helps you create crisp, straight lines and geometric shapes effortlessly.
- Stamping kit — A beginner-friendly option that transfers premade designs onto the nail.
- Gel or regular polish — Gel tends to be more durable; regular polish is easier to remove.
- Top coat — Always seal your design with a top coat to extend wear and add shine.
Step-by-Step: How to Do Nail Art for Short Nails at Home
Even if you’ve never tried nail art before, these steps will get you started with confidence.
Step 1 — Prep Your Nails
Start with clean, dry nails. Remove any old polish, push back cuticles, and file your nails into your preferred shape. Square and rounded shapes tend to work best for short nail art.
Step 2 — Apply a Base Coat
A base coat protects your natural nail and helps the color stick longer. Let it dry fully before moving on.
Step 3 — Apply Your Base Color
Choose a neutral or complementary base shade. Two thin coats are always better than one thick one. Let each coat dry before applying the next.
Step 4 — Add Your Design
This is the fun part. Use your fine brush, dotting tool, or stamping plate to add your chosen design. Work slowly and use a steady hand. If you make a mistake, a small brush dipped in nail polish remover can clean it up.
Step 5 — Seal It with a Top Coat
Once your design is fully dry, apply a clear top coat over everything. This seals the art, prevents chipping, and gives your manicure a glossy, professional finish.
At-a-Glance: Nail Art for Short Nails — Design Selector
| Your Vibe | Recommended Design | Polish Colors |
|---|---|---|
| Minimalist & Modern | Negative space or single line | Nude, white, black |
| Romantic & Soft | Micro florals or pastel ombre | Blush, lavender, peach |
| Bold & Graphic | Color block or geometric | Red, cobalt, gold |
| Classic & Elegant | Reimagined French tip | White, beige, soft pink |
| Playful & Fun | Polka dots or abstract shapes | Coral, mint, bright yellow |
Pros and Cons of Nail Art for Short Nails
Like anything in beauty, there are trade-offs to consider.
Pros:
- Less drying time and faster application
- Lower risk of breakage or chipping during daily tasks
- Encourages cleaner, more minimalist designs that look polished
- More practical for people who type, cook, or work with their hands
- Easier to maintain and grow out gracefully
Cons:
- Less space to work with, which can make highly detailed art tricky
- Some complex designs (like elaborate scenes or 3D nail art) aren’t ideal
- Requires precision — shaky hands can be more noticeable on a smaller canvas
- Limited space means you can’t fit multiple elements on one nail
Common Mistakes to Avoid
Even experienced nail art enthusiasts make these errors. Knowing them upfront can save you a lot of frustration.
1. Skipping the base coat. It’s tempting to go straight to color, but skipping this step leads to staining and shorter wear time.
2. Using too much polish at once. Thick, goopy coats are harder to control and take forever to dry. Thin coats are always the better move.
3. Trying overly complex designs too soon. It’s better to master simple lines and dots before attempting detailed florals or portraits. Start small, build confidence.
4. Not letting layers dry between steps. Rushing is the number one enemy of nail art. Give each layer proper drying time before adding the next.
5. Forgetting to seal the edges. When you apply your top coat, swipe it across the free edge of each nail too. This dramatically extends wear time.
6. Using a brush that’s too large. For short nails, a fine detail brush is essential. A wide brush makes delicate work nearly impossible.
Best Practices for Short Nail Art That Lasts
Follow these tips and your manicure will stay fresh longer.
- Always cap the free edge — run your base coat, color, and top coat along the very tip of the nail.
- Use a dehydrator or rubbing alcohol before your base coat to remove oils that prevent adhesion.
- Keep your cuticles moisturized — healthy skin around the nail makes any design look more polished.
- Avoid submerging hands in water right after painting — water can lift fresh polish.
- Touch up your top coat every 2–3 days to refresh the shine and add another layer of protection.
- Store your nail art brushes properly — clean them after each use and store them flat or upright to keep the bristles in shape.
Short Nail Art Longevity: Gel vs. Regular Polish
| Feature | Regular Polish | Gel Polish |
|---|---|---|
| Drying time | Air dry (20–40 min) | UV/LED cure (30–60 sec) |
| Wear time | 5–7 days | 2–3 weeks |
| Removal | Polish remover | Soak-off or foil wrap |
| DIY-friendly | Yes | Yes (with UV lamp) |
| Best for nail art | Yes (easier layering) | Yes (longer-lasting) |
Conclusion
Nail Art for Short nails are not a limitation — they’re an opportunity. Once you embrace the canvas you have, the design possibilities become genuinely exciting. Whether you lean toward bold geometric shapes, soft pastels, or delicate florals, there’s a short nail art style that fits your personality and your lifestyle.
The key is starting simple, using the right tools, and giving each step the time it deserves. With practice, you’ll be creating salon-worthy designs right at home — no extra length required.
So the next time someone suggests your nails are “too short for nail art,” you’ll have more than enough inspiration to prove them wrong.
Frequently Asked Questions
Minimalist designs work best on very short nails. Negative space art, thin geometric lines, small dots, and simple color-block tips are all great starting points. These designs complement the nail shape rather than competing with it.
Vertical lines, elongated almond-shaped designs, and nude or skin-tone base colors with small accent details near the tip can all create the visual illusion of length on shorter nails.
Absolutely. In fact, short nails are often easier for beginners because the designs tend to be simpler. Start with dotting tools and striping tape before moving on to freehand brush work.
Gel polish tends to last longer and resists chipping better, making it ideal for detailed nail art. However, regular polish is easier to layer and work with for intricate designs, especially if you’re experimenting at home.
With proper prep and a sealed top coat, regular polish nail art lasts about 5–7 days. Gel-based designs can last 2–3 weeks. Capping the free edge and applying a fresh top coat every few days extends the lifespan of any design.
/ You May Also Read /
The Ultimate Guide to Choosing a Professional Nail Kit (What Every Nail Enthusiast Needs to Know)
The Ultimate Guide to Choosing a Professional Nail Kit (What Every Nail Enthusiast Needs to Know)