If you’ve been scrolling through nail inspo lately, you already know that nail art bow design are everywhere — and honestly, it’s easy to see why. They’re flirty, feminine, and surprisingly versatile. Whether you’re going for something soft and delicate or bold and statement-making, a bow motif can take your manicure from basic to breathtaking.
In this guide, we’re going to cover everything you need to know — from the different types of bow nail designs to how you can create them at home, what colors work best, and which styles are trending right now. Let’s get into it.
What Makes Bow Nail Art So Popular?
Bow designs have been a recurring trend in nail art for years, and they keep coming back with fresh twists every season. There’s something about the bow shape that feels inherently playful yet polished — it can feel like a nod to vintage elegance or a fun, girlish statement depending on how you style it.
What really keeps bow nail art in the spotlight is how adaptable it is. You can paint a tiny bow at the tip of a nude nail for something subtle. You can place a bold 3D ribbon bow front and center on a coffin nail for major drama. The design works across lengths, nail shapes, and color palettes. That adaptability is rare in nail trends, and it’s exactly why bow nails haven’t gone anywhere.
The Rise of Aesthetic and Coquette Nail Trends
The bow design fits neatly into the “coquette aesthetic” that took social media by storm in recent years. Think ballet core, Barbiecore, and soft feminine fashion — bows are the crown jewel of all three. On Pinterest and TikTok, searches for bow nails skyrocketed, pushing the trend firmly into mainstream territory. Nail techs and DIY enthusiasts alike embraced the bow as a symbol of effortless femininity.
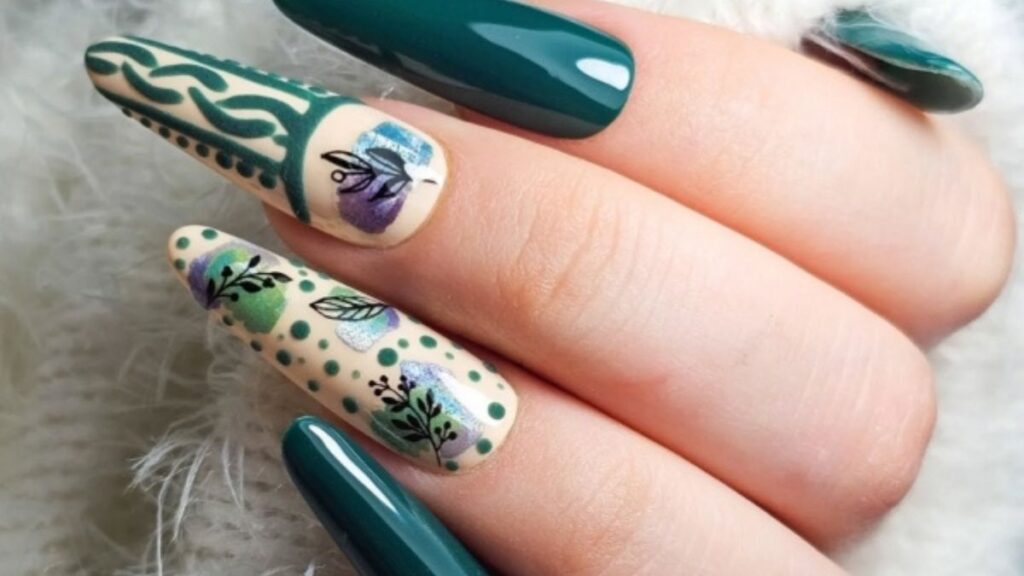
Types of Nail Art Bow Design
Not all bow nails look the same — and that’s a good thing. Here’s a breakdown of the most popular styles so you can find the one that matches your vibe.
1. Painted Bow Designs
This is the classic approach. Using a thin nail art brush and acrylic paint or nail polish, you hand-paint a bow directly onto the nail. It’s flat, sleek, and suits shorter nails beautifully. Black painted bows on a nude base are a timeless combination, while white bows on deep colors like burgundy or forest green feel especially striking.
2. 3D Bow Nail Art
This style uses acrylic powder, gel sculpting, or pre-made nail charms to create a raised, dimensional bow that sits on top of the nail. 3D bows are incredibly eye-catching and photograph beautifully. They work best on longer nails — coffin and stiletto shapes especially — and they’re a staple at salons that specialize in sculpted or editorial nail art.
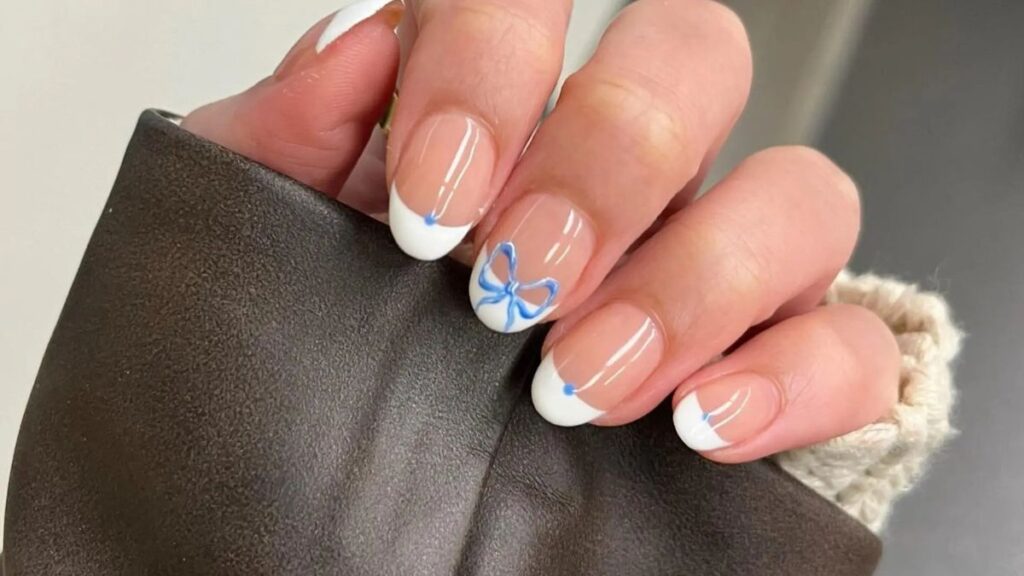
3. French Tip Bow Designs
Instead of the traditional white French tip, this design incorporates a bow into the smile line of the nail. The bow forms the tip, essentially replacing the straight line with a more decorative, looped shape. It’s refined and clever without being overly elaborate.
4. Nail Charm Bows
Pre-made metal or resin bow charms are an easy, beginner-friendly way to add a bow accent. You simply apply the charm using nail glue or gel before sealing with a top coat. These come in dozens of finishes — gold, silver, pearl, holographic — and add instant dimension without any drawing skill required.
5. Stamped or Decal Bow Art
Nail stamping plates often include bow patterns that you can transfer onto your nails using stamping polish. Nail decals with bow prints are another option. Both methods deliver consistent, clean results and are great for beginners.
Bow Nail Design Style Comparison Table
| Style | Skill Level | Best Nail Length | Durability | Look |
|---|---|---|---|---|
| Hand-painted bow | Intermediate | Short to long | Moderate | Sleek & flat |
| 3D acrylic/gel bow | Advanced | Long | High | Dimensional & bold |
| French tip bow | Intermediate | Medium to long | High | Elegant & refined |
| Nail charm bow | Beginner | Any | Moderate | Cute & easy |
| Stamped/decal bow | Beginner | Short to medium | Low-moderate | Clean & consistent |
How to Create Bow Nail Art at Home
You don’t need to visit a salon to pull off beautiful bow nails. With the right tools and a little practice, you can get salon-quality results at home.
Tools You’ll Need
- A thin nail art liner brush (size 00 or 000 works best)
- Nail art acrylic paints or a gel nail kit
- Base coat and high-shine top coat
- Dotting tool (optional, for small details)
- Nail charms (optional, for 3D effects)
- Cleanup brush and acetone for edges
Step-by-Step: Painting a Simple Bow
Step 1: Apply your base coat and let it fully dry. Then apply two coats of your chosen base color and cure or dry completely.
Step 2: Dip your liner brush into white or black nail art paint. Start by drawing two small triangles that mirror each other — these form the wings of the bow.
Step 3: Connect the triangles in the center with a small oval or circle. This is the knot of the bow.
Step 4: Add two small ribbon tails extending outward from the knot at a slight diagonal.
Step 5: Let the design dry fully, then apply a glossy top coat to seal everything in and add shine.
Pro tip: Practice the bow shape on a piece of paper or a nail palette before applying it directly to your nail. The motion becomes easier with repetition, and nailing the symmetry makes a big difference.
At-Home vs. Salon Bow Nail Art: Key Differences
| Factor | At-Home | Salon |
|---|---|---|
| Cost | Low (one-time tool investment) | Higher (per session) |
| 3D bow complexity | Limited without training | Advanced options available |
| Consistency | Variable until practiced | Reliably consistent |
| Customization | Full creative control | Collaborative with tech |
| Time investment | Longer learning curve | Faster execution |
| Longevity | Depends on top coat quality | Often longer-lasting |
Best Nail Shapes for Bow Designs
The shape of your nail can make or break a bow design. Here’s a quick guide to which shapes work best for different bow styles.
Almond Nails
Almond nails taper to a soft, rounded point and are one of the most flattering shapes overall. They work beautifully with delicate hand-painted bows or small charms. The elongated silhouette gives the bow room to breathe without feeling cramped.
Coffin Nails
Coffin nails (also called ballerina nails) have a flat, squared-off tip on a long, tapered nail. The wide flat tip is practically a canvas for bow designs — it’s especially popular for 3D bows, which sit front and center with maximum impact.
Oval Nails
Oval nails are softer than almonds and very wearable. They suit painted bow designs in any scale. For beginners, oval nails are actually easiest to work with because the shape is forgiving and universally elegant.
Stiletto Nails
Stiletto nails are dramatic and sharp, and bold bow designs amplify that drama. These pair well with chunky 3D bows or graphic painted designs in high-contrast colors.
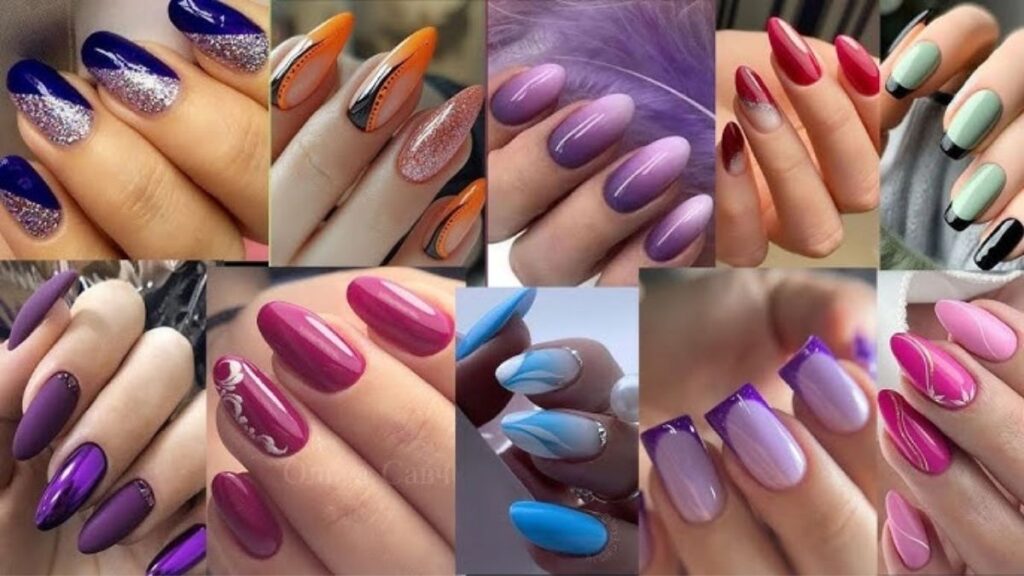
Color Combinations That Work Beautifully for Bow Nails
Color choice completely transforms a bow design. Here are some combinations that consistently look stunning:
- Blush pink + white bow — soft, classic, romantic
- Black + gold bow — dramatic, high-fashion, timeless
- Nude + black bow — minimal, sophisticated, wearable
- Red + white bow — holiday-ready, vintage-inspired
- Lavender + silver bow — dreamy, ethereal, perfect for spring
- Clear/gel base + pearl bow charm — effortlessly chic, modern
- Dark navy + pastel bow — unexpected contrast, editorial feel
Pros and Cons of Nail Art Bow Design
Pros
- Highly versatile — works for casual and formal occasions alike
- Adaptable to any skill level — from simple painted designs to intricate 3D sculpts
- Timeless yet trendy — bows have remained fashionable across decades
- Customizable — works with virtually any color, shape, or length
- Great for accent nails — you don’t have to do every nail; one bow accent nail pops beautifully
Cons
- 3D bows can snag — raised bow charms or sculpts may catch on clothing or fabrics
- Symmetry is tricky — hand-painting a balanced bow requires practice
- Not always office-appropriate — elaborate bow nails may not suit every professional environment
- Charms can pop off — without proper adhesive or gel sealing, charm bows don’t always last as long
Common Mistakes to Avoid with Bow Nail Art
Even experienced nail enthusiasts make these mistakes. Knowing about them ahead of time will save you a lot of frustration.
1. Skipping the base coat — A good base coat isn’t optional. It protects your nails from staining and helps the design stick.
2. Painting on wet polish — Always let your base color cure fully before adding any bow design on top. Painting on tacky polish drags and smudges.
3. Using too much paint on the brush — A loaded brush creates messy, blobby lines. Wipe off excess on a paper towel before drawing.
4. Forgetting to seal with top coat — Without a quality top coat, your design will chip quickly. Use a gel or gel-like top coat for the best longevity.
5. Rushing the drying process — Impatience is the number one cause of smeared nail art. Give each step adequate time to dry.
6. Ignoring proportion — A bow that’s too large or too small relative to the nail looks awkward. Sketch or plan the size before you start.
Best Practices for Long-Lasting Bow Nail Art
Follow these habits and your bow nails will look fresh far longer:
- Apply a UV-cure gel top coat for maximum durability on both painted and charm designs
- Avoid soaking nails in water for extended periods right after application — it weakens adhesion
- Use cuticle oil daily — it keeps the surrounding skin healthy without degrading the top coat
- Cap the free edge with top coat every few days to prevent tip wear
- Store nail art tools properly — clean brushes after each use and keep them covered to preserve the bristles
- Always work in thin layers — thicker layers dry unevenly and crack more easily
Conclusion
Bow nail art is one of those designs that never really goes out of style — it just reinvents itself season after season. Whether you’re drawn to the sweetness of a tiny painted bow on a nude base or the drama of an oversized 3D ribbon on coffin nails, there’s a bow design out there that’s perfect for you.
The beauty of bow nails is that they speak to a range of aesthetics — romantic, edgy, minimalist, maximalist. Once you understand the basics of tools, technique, and color pairing, the creative possibilities are genuinely endless. Start simple, practice your brush strokes, and don’t be afraid to experiment with different shapes and finishes. Your best bow design might be one happy accident away.
Frequently Asked Questions
Nail art bow design is a manicure style that incorporates bow or ribbon shapes onto the nail surface, either through hand-painting, 3D sculpting, nail charms, or decals. It can range from subtle and delicate to bold and dimensional, and suits any nail shape or length.
Hand-painted bow designs typically last 7–14 days with a quality top coat. 3D acrylic or gel bow designs sealed properly can last 2–4 weeks. Nail charm bows depend heavily on adhesion — gel-sealed charms generally last longer than those applied with nail glue alone.
Yes, beginners can absolutely do bow nail art at home. Starting with bow nail decals or pre-made nail charms is the easiest entry point. As your confidence grows, you can move on to painted designs using a thin liner brush. Practice on paper first to get the motion right.
Coffin and almond nails are the most popular shapes for bow designs because they offer more surface area. Oval nails also work beautifully for smaller, delicate bows. Shorter, square nails can accommodate minimal painted bow accents on one or two accent nails.
Currently trending colors for bow nail designs include blush pink, milky white, lavender, and classic black. Chrome and pearl finishes for the bow itself — especially on a neutral or nude base — are also very popular. Seasonal trends shift, but pastel and neutral palettes remain consistently popular year-round.
/ You May Also Read /
The Ultimate Guide to Professional Gel Nail Polish: Everything You Need to Know
The Complete Guide to Choosing and Using a Professional Nail Drill (2026)